A cake’s a cake, right?
Well, this isn’t just any old cake. It’s a cakesicle.
What Is A Cakesicle?
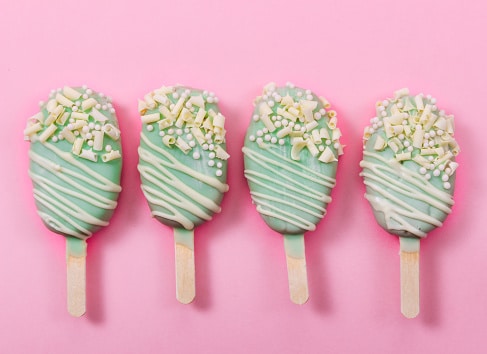

A Cakesicle is a frozen dessert made from a mixture of cake batter and frosting that you can eat with a spoon or scoop out like ice cream.
The best part about these treats is that they’re so quick to make — all you have to do is combine two parts cake batter with one part frosting until it reaches the consistency of thick pudding.
Cakesicles were first created by the Culinary Institute of America (CIA) back in 2007 as an alternative to traditional ice creams, which tend to be more difficult to prepare.
They also contain less fat than their dairy counterparts, making them healthier options for people who want to cut down on calories but still enjoy desserts.
The CIA has since released several recipes for cakesicles, including ones flavored with chocolate chips, coconut flakes, and even fruit cocktail.
If you love eating cake, why not try creating your own at home?
Here’s how to bake a cakesicle using our simple guide below:
- Combine 1/4 cup each flour, sugar, cocoa powder, baking soda, salt, and instant coffee granules in small bowl.
- In large mixing bowl, beat eggs, oil, vanilla extract, egg yolk, and water with electric mixer until smooth. Beat in powdered sugar gradually.
- Add dry ingredient mixture slowly while beating on medium speed.
- Pour batter evenly into prepared molds.
- Freeze until firm, about 2 hours.
- After removing cakesicles from freezer, fill a pastry bag fitted with a #3 tip and pipe frosting onto cakesicles until tops reach top edge of molds.
- Cover and return to freezer until ready to serve.
What Are The Ingredients In A Cakesicle?
The basic ingredient list of a cakesicle includes cake mix (which may be regular or gluten free) and frosting — but there’s more to it than that!
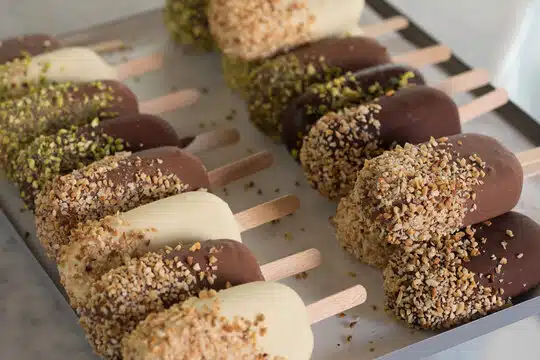
You can also add some chopped nuts, dried fruit pieces, sprinkles, candy bits, etc., all depending on what kind of flavor combination appeals to you.
If you want to get really creative with your cakesicle, look at our recipes page to see how we use different types of cake mixes and frostings as well as other ingredients like shredded coconut, peanut butter chips, and even cookie dough chunks.
Keep reading to find out exactly how to put everything together in order to create an amazing treat!
How Do You Make A Cakesicle?
The easiest way to create an amazing cakesicle is by making one from scratch, but that can be time consuming if you don’t have much experience baking.
For those on the go or looking to save some money, there are plenty of pre-made cakesicles out there to pick up at the grocery store or drugstore.
They come packaged with a small amount of icing inside so all you need to add is water (or milk) and stir until it reaches room temperature before eating.
If you want something more unique than regular cakesicles, try these eight different types of cakesicles we found online.
- Cakesicle Cake Mix – These mixes come in two flavors: chocolate chip and strawberry cheesecake. The cake itself comes with about 1/4 cup of frosting, which means you only need to add enough water to bring the mixture to room temp before serving.
- Chocolate Cakesicle – This one has a layer of dark chocolate between the cake layers along with a creamy white frosting.
- Mini Chocolate Cakesicle – You get three mini cakesicles packed into one container. Each contains two mini cakes and a small amount of frosting.
- Buttercream Cakesicle – This one uses buttercream instead of standard frosting. It includes a tiny bit of vanilla extract and some red food coloring for a fun design.
- Blueberry Cheesecakesicle – This blueberry cheesecakesicle has a light blue color due to the addition of frozen blueberries. It also includes a cream cheese filling topped off with vanilla whipped cream.
- Strawberry Shortcake Cakesicle – This Strawberry shortcake cakesicle looks like a real treat when served. A layer of sponge cake is sandwiched between two thin sheets of pastry crust, both made from puff paste dough. Then, a generous portion of strawberries is placed on top followed by a thick layer of fluffy white frosting.
- Carrot Cake Cakesicle – This carrot cake cakesicle makes use of a moist carrot cake batter. It includes coconut flakes as well as shredded carrots and raisins for added texture and flavor.
- Peanut Butter Cupcakesicle – This peanut butter cupsicle has a rich peanut butter filling surrounded by a chewy brownie base.
If you’re still not convinced that cakesicles exist, check out our article on the history of cakesicles!
What Is The Best Cakesicle Recipe?
You can find many recipes online for making a cakesicle using a variety of ingredients.
However, it seems that most people agree on one thing: You need to use a boxed cake mix and store bought frosting in order to have success with this dessert treat.
The first step in creating a cakesicle is mixing up a batter the same way as you would for a regular cake.
Once mixed well enough, place the mixture in a baking dish and bake until cooked through (usually about 20 minutes).
Let cool completely before moving onto the next step.
This is where things get interesting.
If you want to create a delicious dessertsicles, you must take another step.
You will need to fill the baked layer with frosting or other filling material.
The standard method is to cut out circles from the top of the cooled cake and insert them into a cupcake liner.
Alternatively, if you prefer something smaller, simply spoon the frosting over the entire surface of the cake.
Either way, let everything sit at room temperature for several hours so the frosting hardens.
Once hardened, pop the cakesicle out of its container and enjoy!
Keep reading below to learn more about how to make a cakesicle and what kind of results you should expect when following these instructions.
What Are Some Variations Of The Cakesicle Recipe?
The basic recipe for making a cakesicle calls for mixing up two boxes of cake batter (one regular one—the other being an extra large or jumbo box) with 1/3 cup of melted butter.
Once mixed, it should be poured into a freezer safe container that has been filled to the top with powdered sugar.
The mixture should then be frozen until solid enough to remove from the container.
But what if you want to make your own custom cakesicle instead of using one off the shelf?
Here are some tips on how to customize your cakesicle so you can get exactly what you want:
- Mix in different flavors like chocolate chips, Oreo crumbles, peanut butter cups, etc.
- Use different types of frostings such as cream cheese, whipped cream, or even caramel sauce.
- Add sprinkles, candies, or nuts of various kinds.
- Make more than one layer of cake and fill them all with different ingredients.
- If you don’t have access to a mold, use plastic wrap to form the “ice” around the inside of a bowl.
How Do You Decorate A Cakesicle?

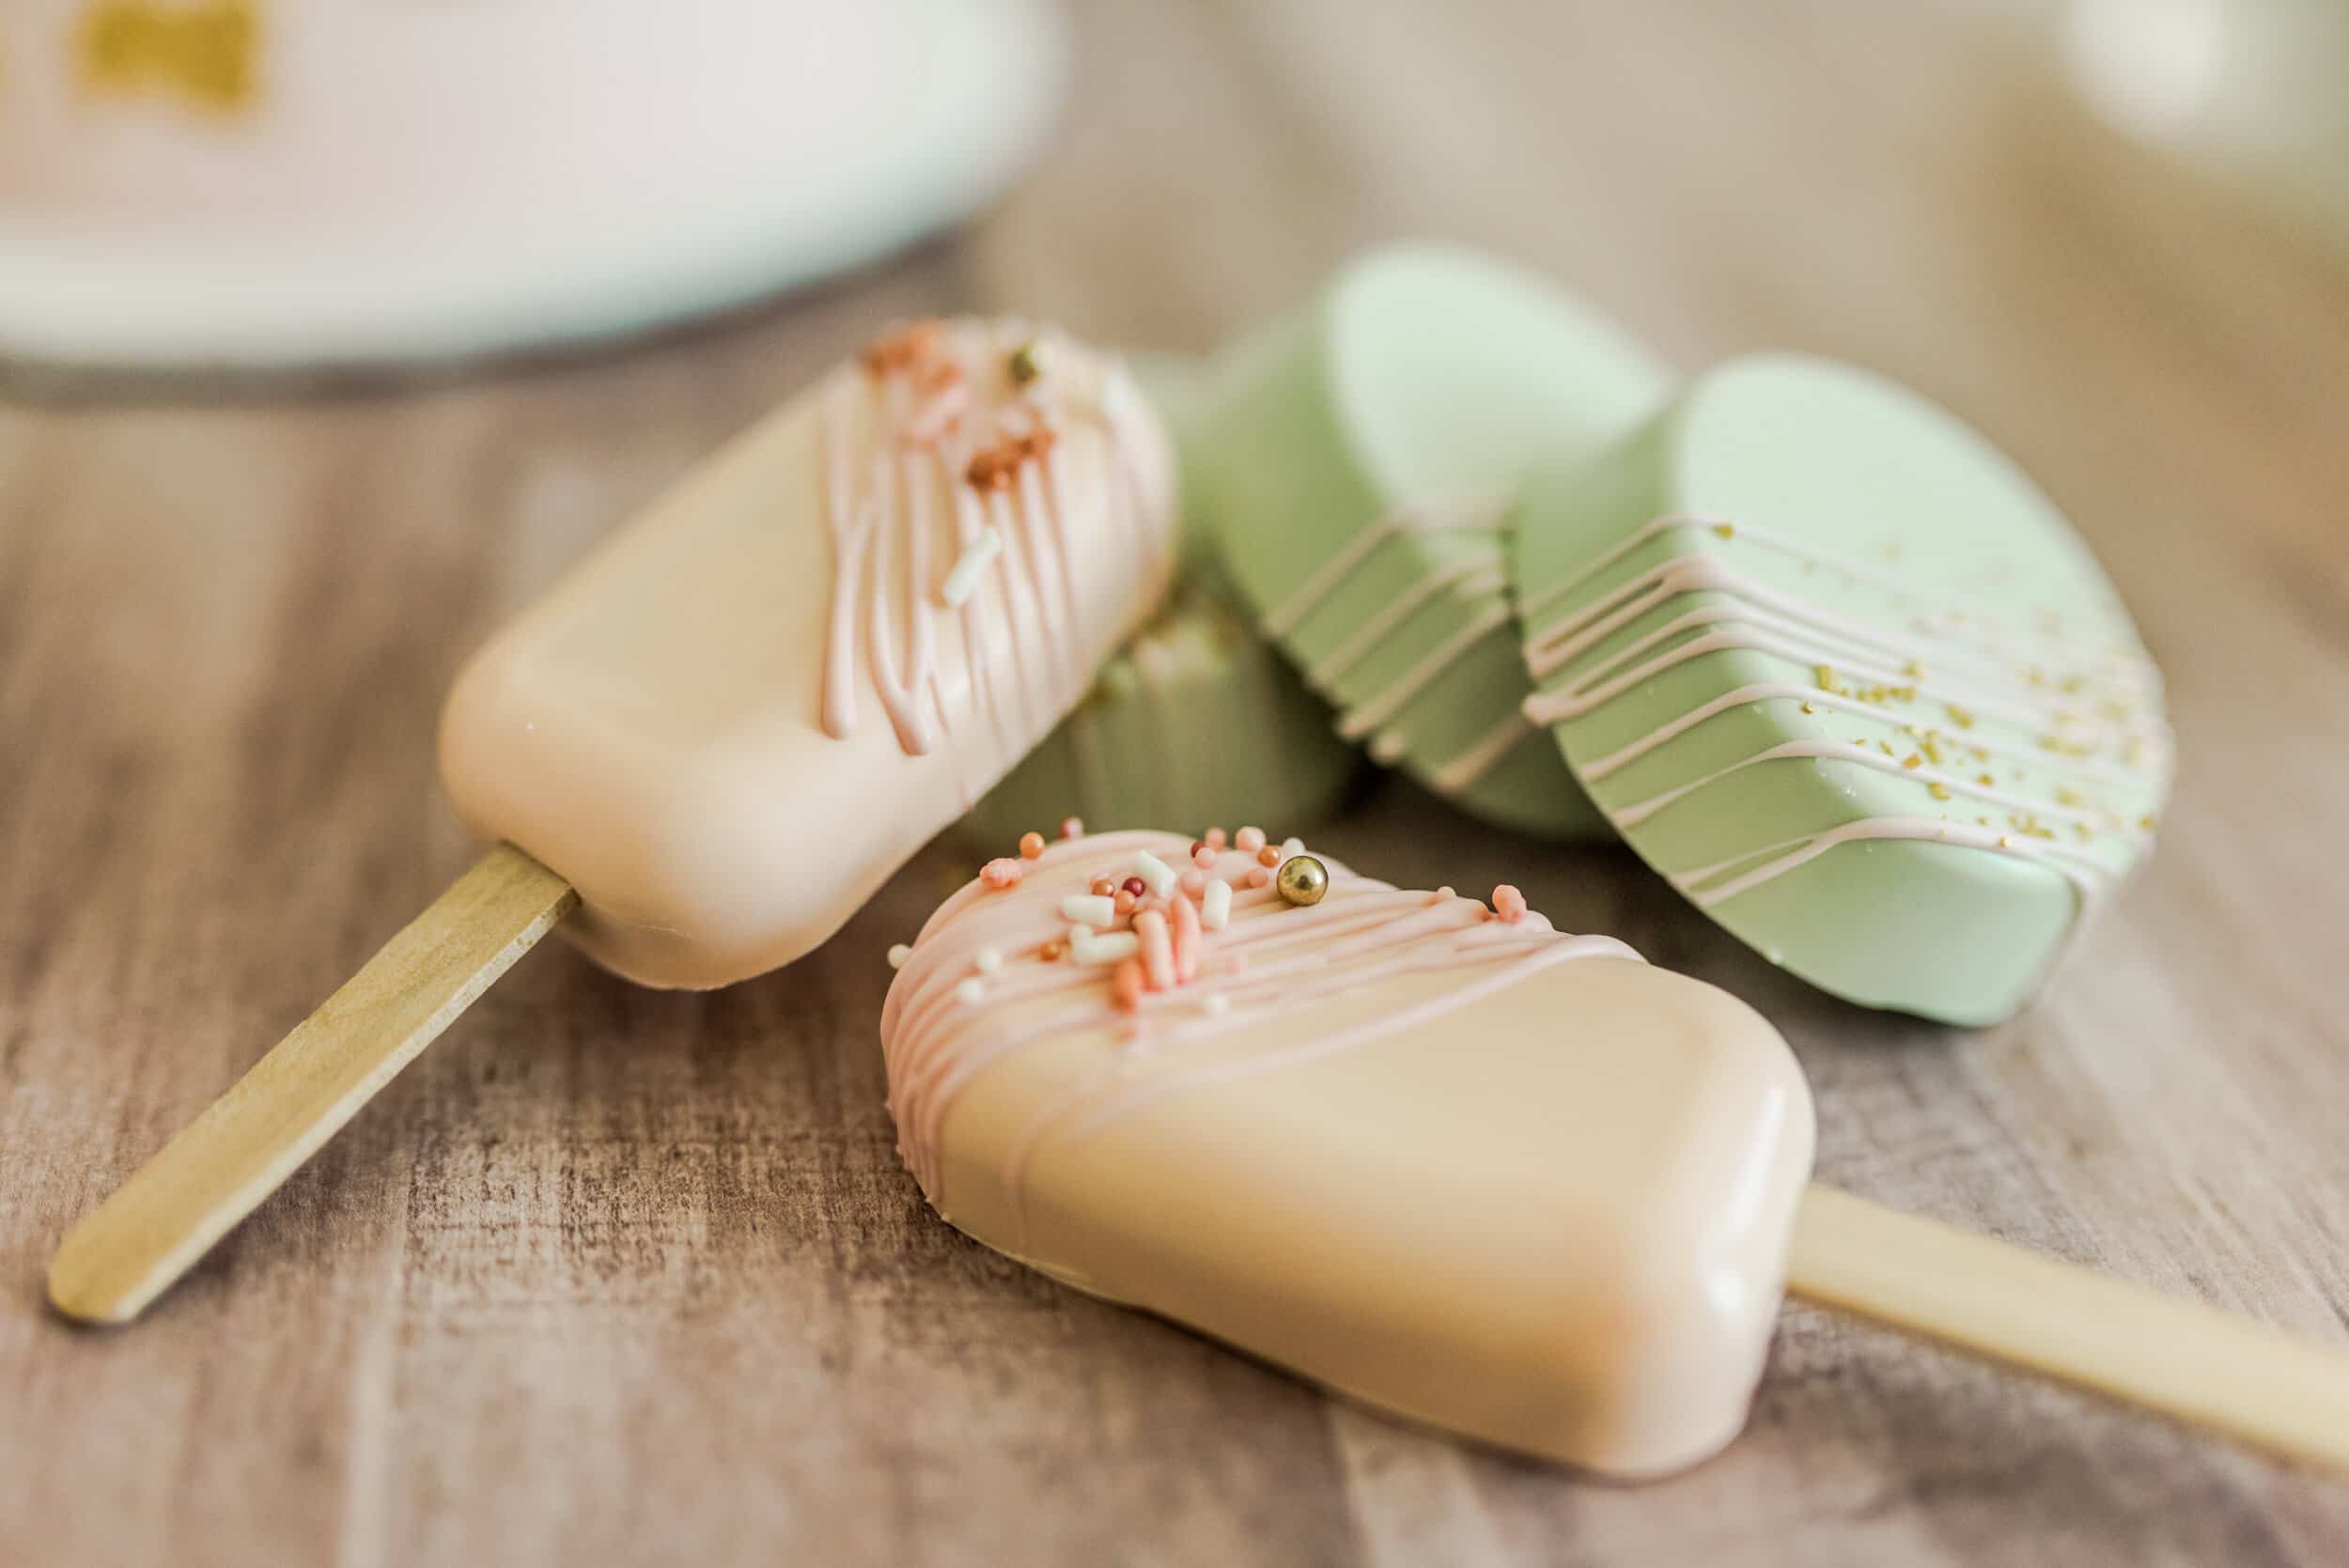
Cakesicles can be decorated in many ways to match any occasion or holiday.
You could use candy sprinkles, chocolate chips, or even edible glitter.
If you want something more traditional, there are plenty of decorations that will work well with your cakesicle. For example, if you’re planning on giving it as a gift, consider using wrapping paper, ribbon, or bows to decorate it.
You can also write out sweet sentiments such as “Happy Birthday” or “Merry Christmas” on a piece of white cardstock and cut them out.
Use permanent marker to add names or other small details.
(For those who prefer their cakes without sugar, try substituting stevia in place of sugar.)
Decorating Tips
- Use your imagination by adding fun accessories like buttons, beads, sequins, etc.
- Make sure the icing has dried completely before putting anything else onto the cakesicle.
- Add food coloring to create different hues if desired (for instance pink & blue)
- Try layering several types of decoration on top of each other to make an interesting design.
- To avoid cracking, don’t stack too much weight on the cakesicle – only cover about half of the surface area at most.
- Don’t forget to leave room around the edges so the sides won’t stick together when freezing.
Paint Your Own Cakesicle
Are you looking for a DIY project?
Try painting your own cakesicle instead of buying one from the store.
What Are Some Tips For Making A Perfect Cakesicle?
I know some of you may be thinking that the word “Cakesicle” sounds like something from an episode of SpongeBob SquarePants.
But it really doesn’t.
In fact, Cakesicles are actually quite popular in Japan (although they aren’t as common here).
Since I have never had one before, I decided to make my own at home.
The process was pretty simple — all you need is a basic white chocolate cake with vanilla buttercream frosting.
Here’s what you need:
- White Chocolate Cake Mix
- Vanilla Buttercream Frosting (or other flavor)
- Mold or container
- Freezer
If you want to go beyond the basics, there are tons of great recipes out there on how to make different kinds of cakesicles.
Check them out below:
1. Orange Cakesicle
This orange cakesicle recipe calls for Oreo cookies instead of regular ones.
If you don’t eat Oreos, feel free to use whatever kind of cookie you prefer.
For example, if you’re vegan, try using oat cookies.
Or maybe you enjoy peanut butter cups more than regular Oreos.
Whatever works best for you.
The main ingredients are:
- Oreo Cookies
- Peanut Butter Cups
- Butter Cream Filling Recipe
- Flour Tortillas
- Chocolate Chips
- Dark Chocolate Mousse Recipe
- Directions: 1) Crush up Oreo cookies until fine powdery; 2) Place crushed cookies in freezer bag; 3) Add Peanut Butter Cups pieces to another freezer bag; 4) Remove Oreo crumbs from freezer bag; 5) Spread Oreo crumb mixture onto flour tortillas; 6) Top each tortilla with melted dark chocolate chips; 7) Bake at 350 degrees Fahrenheit for 10 minutes; 8) Cool completely before cutting into squares.
2. Strawberry Cakesicle
Another great strawberry cakesicle recipe uses strawberries as the base.
You can also add fresh fruit such as blueberries or raspberries to create a fruity cakesicle.
Ingredients include:
- Strawberry Cake Mix
- Basic Vanilla Buttercream Frosting Recipe
- Fresh Strawberries
- Directions: 1) Combine cake mix ingredients in bowl; 2) Pour batter into prepared baking dish; 3) Freeze overnight; 4) Cut frozen cake into slices; 5) Melt chocolate over double boiler; 6) Drizzle melted chocolate over sliced cake; 7) Garnish with whipped cream and strawberries.
3. Lemon Cakesicle
This lemon cakesicle calls for mini cupcakes instead of a standard sized cake.
If you choose to use cupcakes, you will need to bake a batch of cupcakes first.
Then, simply cut off the tops of the cupcakes and fill them with butter cream filling.
Ingredients include:
- Lemon Cupcake Mix
- Buttery Fluffy White Frosting Recipe
- Miniature Lemon Cheesecake
- Directions: 1) Prepare cupcakes according to package directions; 2) Brush top of cupcakes with buttermilk; 3) Fill cupcakes with white frosting; 4) Chill for 30 minutes; 5) Slice cheesecakes into circles; 6) Sprinkle with powdered sugar.
4. Red Velvet Cakesicle
Red velvet cake mixes are available in most grocery stores.
However, if you can only find black food coloring, you can substitute with red food colorant.
Either way, the end result should still taste amazing.
Ingredients include:
- Red Velvet Cake Mix
- Raspberry Butter Cream Filling Recipe
- Whipped Cream
- Directions: 1) Preheat oven to 375 degrees Fahrenheit; 2) Grease pan with nonstick spray; 3) Line bottom of pan with parchment paper; 4) Make cake batter according to box instructions; 5) Cook cake according to box instructions; 6) Allow cake to cool slightly; 7) Spread raspberry butter cream between layers of cake; 8) Refrigerate for about 20 minutes; 9) Layer cake in molds so that both sides are covered in raspberry butter cream; 10) Top with remaining raspberry butter cream; 11) Decorate with whipped cream and sprinkles.
How Do You Store A Cakesicle?
If you want to make a perfect cakesicle, you have to ensure that the mixture will set up properly in the freezer.
A good way of testing whether or not it has done so is by placing a small amount of mixture onto a plate or glass dish – if it sets up quickly and easily, it’ll be fine.
If there’s still liquid left after 30 minutes, then add more flour until it reaches the consistency of slightly damp sand (or even better, use an ice cream scoop).
You can also test it by putting it on top of another small piece of baking paper and seeing how long it takes to melt away completely.
The best method is to put it in a container with a layer of plastic wrap between the cake mixture and the lid, which keeps out moisture while allowing heat transfer from the inside of the container to the outside air.
You should let the mixture cool at room temperature before storing it.
As soon as it starts to solidify, remove it from the fridge and place it back in its original container, tightly wrapped in foil or cling film.
Then pop it straight back in the freezer for 15 minutes, and repeat every half hour, keeping track of the time each time using a kitchen timer.
When you get to 4 hours, take it out again and leave it in the fridge overnight, then return it to the freezer once you’re ready to serve it.
What Are Some Common Mistakes When Making A Cakesicle?
Cakesicles can be tricky to make, but there are several things you might not know about them.
And if you don’t take the time now to learn what they are, it could cost you later down the road.
- The first thing to remember is that cakesicles have an expiration date. They will only keep in the freezer for so long before they begin to lose their shape. You should always check on how much longer you have left of your cakesicles by using one of these online tools to find out how many days or hours you have remaining.
- Another important consideration is temperature control. If you let your cakesicles sit outside of the refrigerator too long, they may start to melt from exposure to room temperatures. That means you need to bring them back inside as soon as possible.
- If you want to preserve the flavor of your cakesicles, it’s best to eat them within three months. If you plan to give them away, however, you can safely keep them up to two years without losing quality.
- You also need to be careful with storing your cakesicles once they’ve been frozen. For example, avoid stacking them on top of each other because they may stick together and crack during storage.
- And lastly, when you’re ready to serve your desserts, make sure to remove the cakesicles from the molds quickly. Otherwise, they’ll continue to harden while sitting in the molds.
What Are Some Other Recipes That Use Cakesicles?
Cakesicles have been around since the early 1900s, but they really came to prominence in the 1980s as an alternative to traditional birthday cakes.
These days, you can find them at grocery stores and bakeries across the country, though they aren’t exactly common anymore.
The popularity of cakesicles has dwindled, mainly due to their high price tag (they usually cost about $10 per cake) compared to regular cakes from supermarkets or local bakeries.
However, if you want to make one yourself, it might be worth the effort because these frozen desserts are so much fun to eat!
If you don’t know how to make a cakesicle yet, here’s all the information you need to get started with this delicious dessert.
(It should also go without saying that before attempting to make a cakesicle, you should check with your parents first. You could end up getting banned from the kitchen.)
Ingredients
- 1 standard cake mix
- 2 tbsp heaping frosting
- 2 to 3 cups chocolate
Instructions
- Create the dough for your cake pops by hand-crunching cooled cake into fine crumbs. In a sizable bowl, combine the cake crumbs and 1/2 cup of chocolate ganache or buttercream frosting.
- Cake batter should be set aside.
- Melt your melting wafers or almond bark in the microwave in 30-second increments, stirring after each, until completely melted. Note: You must add 1 teaspoon of vegetable oil or palm oil if you’re using candy melts.
- Your silicone cakesicle mold should fit through an ice cream stick.
- A teaspoon or so of melted chocolate should be added to the mold. To coat the mold, you can use a spoon, a small offset spatula, a pastry brush, or paint brushes made from food-safe materials.
- After around 15 minutes of freezing, remove any extra chocolate from the mold.
- Press the cake filling into the mold’s cavities while being extra careful to avoid breaking the chocolate.
- Additional chocolate should be placed on the mold’s top, and it should be frozen for an additional 10 minutes to set the chocolate.
- Peel the mold from the top after carefully loosening one of the mold’s corners in order to remove the entire pop.
- Push the sticks out of the mold slowly. Use a pair of tidy scissors or a paring knife to carefully clip off any extra chocolate that is on the outside rim of your cakesicle.
- Your cakesicles should sit on a baking sheet with parchment paper.
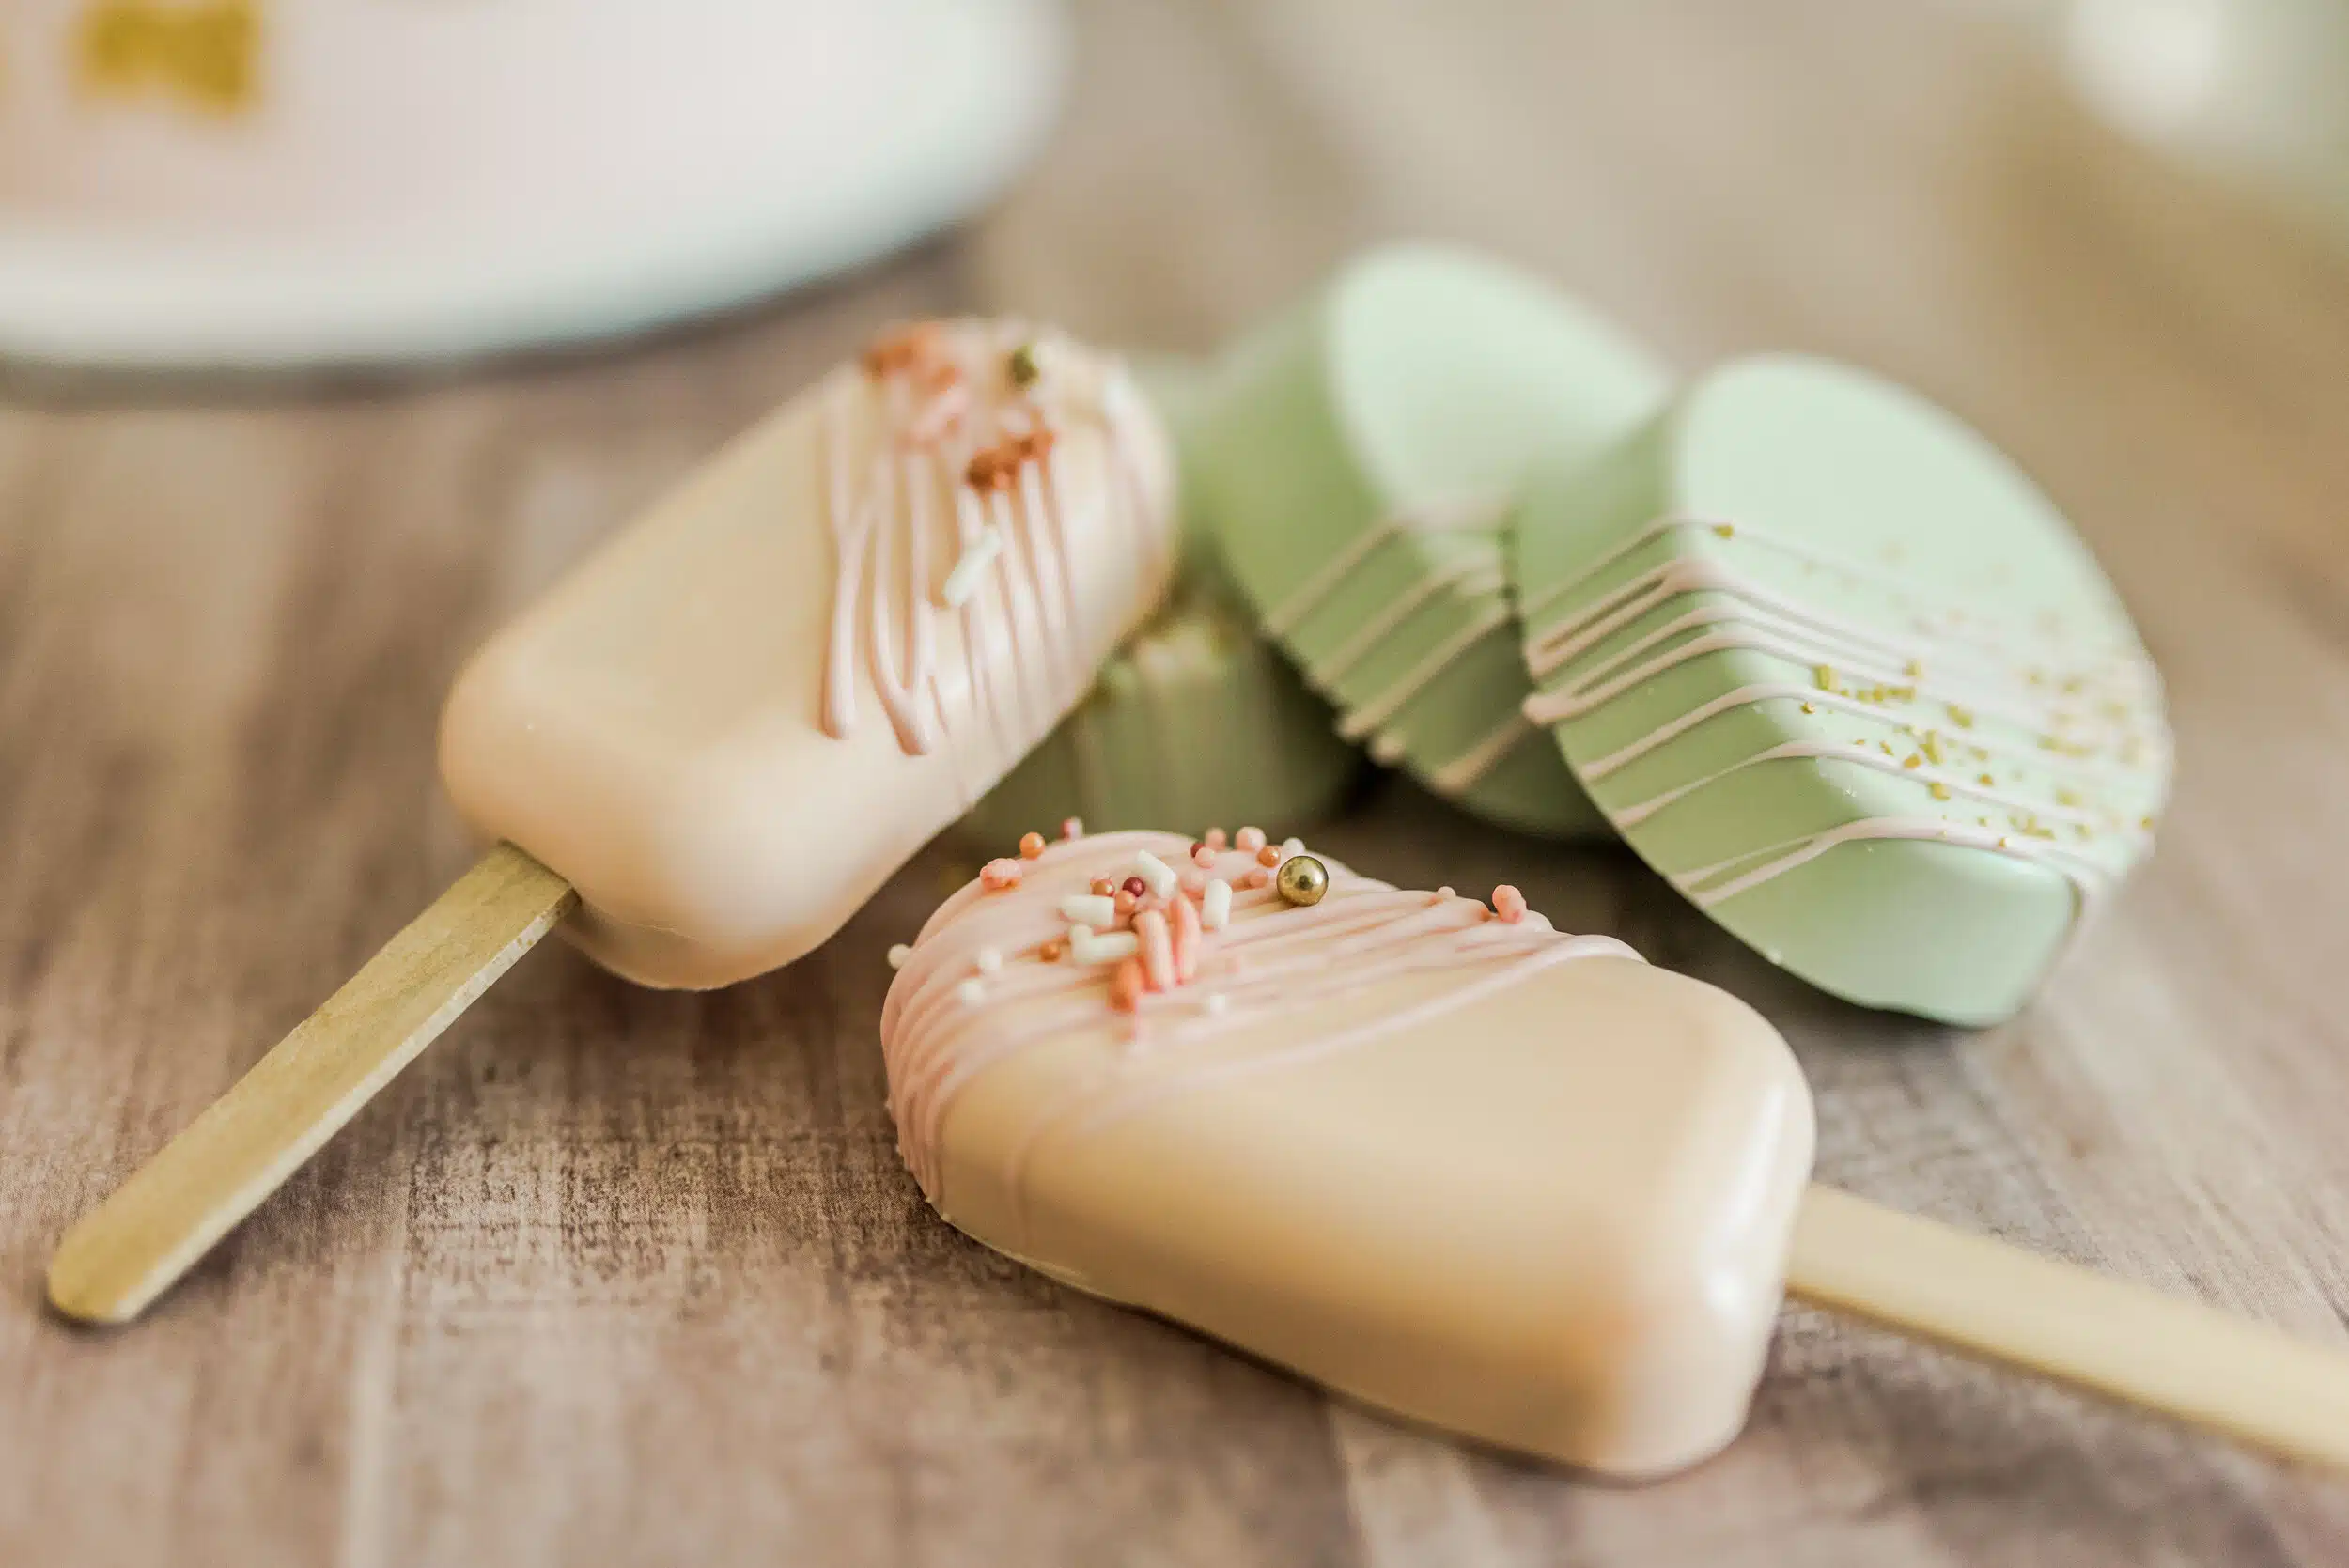
- Melt colored candy melts or additional chocolate chips in a separate bowl or inside a piping bag at 30 second intervals to decorate. Cut a little hole at the bottom of your piping bag, then pipe swirls and other patterns while adding sprinkles right away.
- Give your cakesicles around 15 minutes to dry.
Video
Nutrition
My blog is all about creating delicious meals with ingredients that are easy to find in your local grocery store. I’m passionate about making yummy meals that I can share with my friends and family.