Cheese foams are one of those classic dishes that everyone loves to eat.
They’re fluffy and fluffy, with a light and airy consistency.
If you want to try your hand at making this dish, but don’t know where to begin, here’s an easy guide on how to make a good cheese foam.


What Is The Best Cheese For A Cheese Foam Recipe?
The most important thing when it comes to making a great cheese foam is choosing the right type of cheese.
The reason why is because there are so many different types of cheeses available today.
Not only do they come in all shapes and sizes, but each has its own unique flavor profile.
Some cheeses have the ability to develop a strong taste over time if not properly stored, while others will remain mild throughout their lifespan.
So before deciding which kind of cheese would work best for a cheese foam, you need to consider these factors:
- Type of cheese
- Size of cheese
- Color of cheese
- Flavor of cheese
- Availability of cheese
You should also take into consideration what kinds of foods you plan on using your cheese foam on.
For example, some people prefer their cheese foam served warm, while others like theirs chilled.
This means that you should choose from a wide variety of varieties of cheese depending on whether you like your food hot or cold.
If you’d rather make your own cheese foam than buy it pre-made, then you really just need to decide which cheese is going to give you the best results.
But even after you’ve decided which cheese you want to use, you still need to determine what other ingredients you’ll need to complete your cheese foam recipe.
What Is The Ideal Temperature For A Cheese Foam Recipe?
You need to keep in mind that cheese foams should not be too hot when they go out onto the table.
You may think that it would be okay if they were served piping hot from the pan, but that will ruin their structure and cause them to collapse under pressure.
Instead, it is recommended that they are served at room temperature so that guests can enjoy them without worrying about burning themselves.
It is also important that the cheese foam does not sit around for too long before being eaten.
The longer the foam sits, the more likely it is to become heavy and dense.
This means that the creaminess and fluffiness of the foam decreases over time.
To ensure that your cheese foam stays fresh, serve it within two hours after preparation.


What Is The Ideal Texture For A Cheese Foam Recipe?
The first thing to consider when trying to figure out what kind of cheese foam recipe works well in your kitchen is whether it should have a soft or stiff texture.
Soft cheeses like Brie are perfect for making a creamy cheese foam.
Harder cheeses such as Cheddar will require more liquid than they would otherwise need in order to produce the same amount of foam.
This means that if you choose to use hard cheese varieties, you should add some additional ingredients (such as cream) to help increase its viscosity.
What Is The Best Way To Achieve The Desired Texture For A Cheese Foam Recipe?
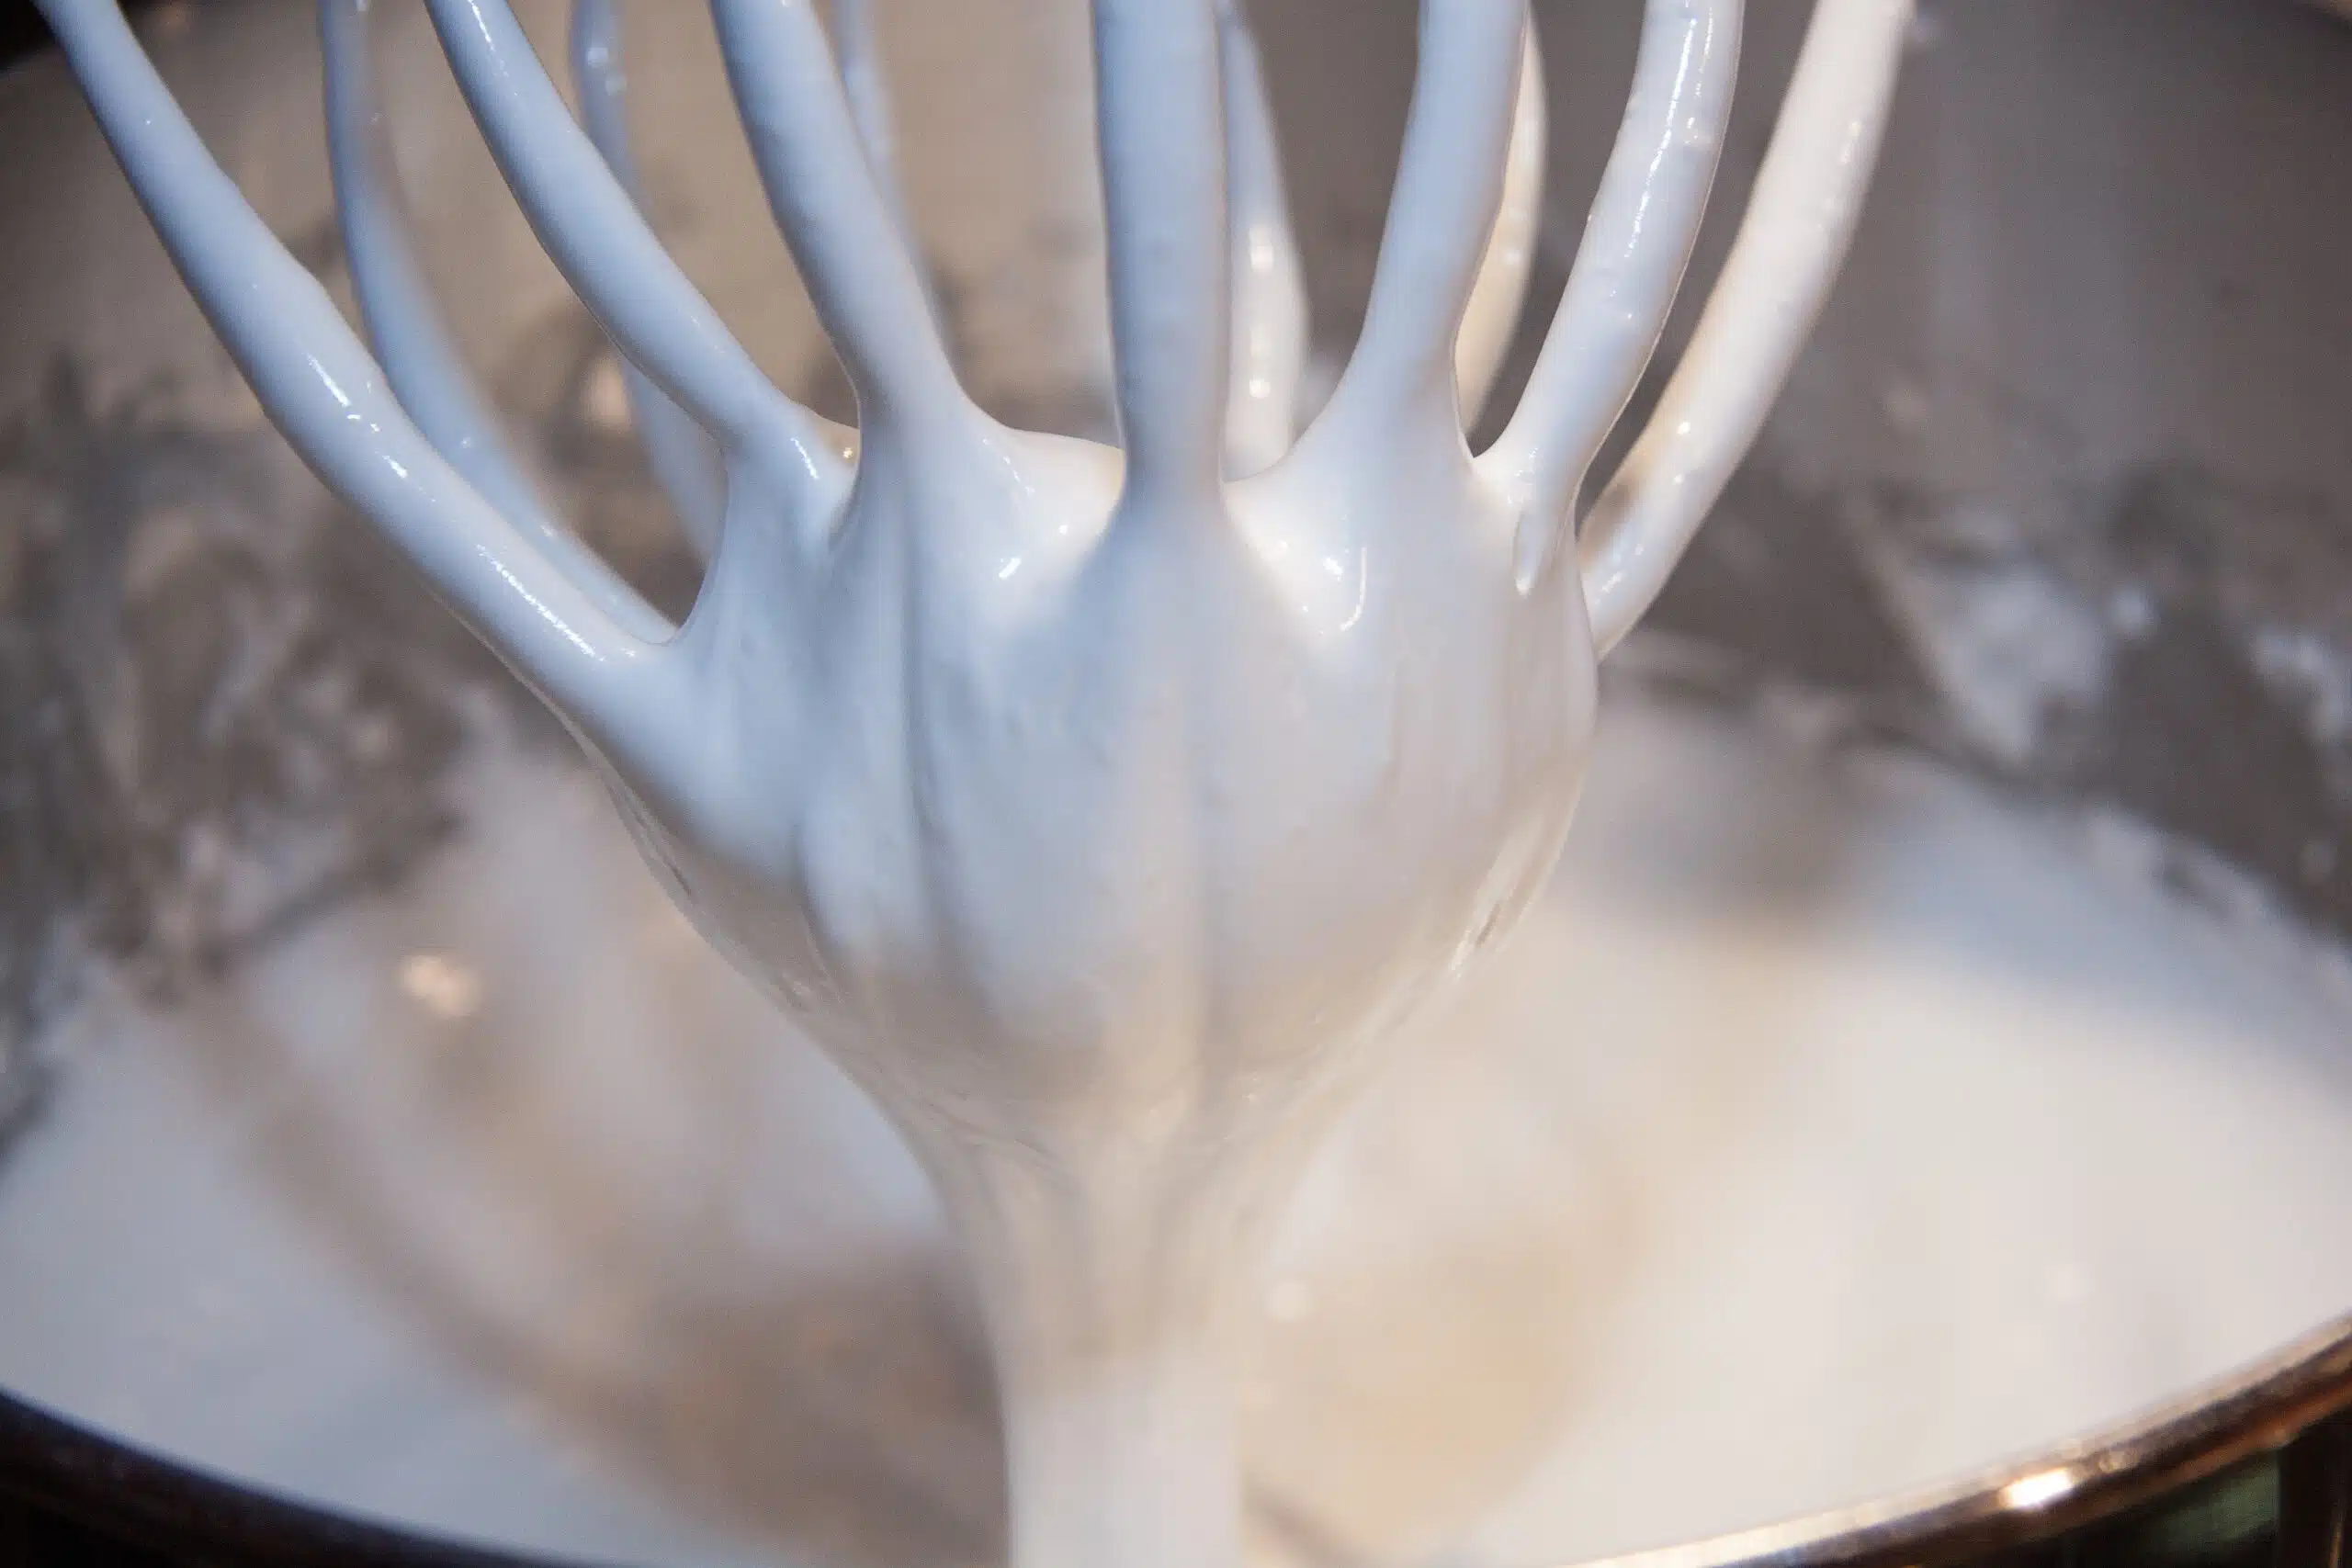
The key to getting a really nice, light texture in a cheese foam dish is whipping up a smooth, creamy base.
This will ensure that there aren’t any clumps of fat from melting into the mix, which would give it a heavy texture.
The smoother the mixture, the more aerated the foam becomes.
So before you start cooking your recipe, make sure to whip up the custard using either a stand mixer or blender to get a very smooth, creamy base.
What Is The Best Way To Achieve The Desired Temperature For A Cheese Foam Recipe?
The first thing you need to do when making a cheese foam is to heat up some water in a pot over medium heat.
Once it reaches a boil, remove the pan from the stovetop and add the cream.
You should stir constantly until the cream has completely melted into the water.
After mixing well, turn off the burner and let the mixture cool down before proceeding further.
Once cooled, combine all of the ingredients (except the butter) in a blender or food processor.
This will help ensure that everything gets thoroughly mixed together.
Then, pour the contents of the blender/food processor into a large bowl.
Next, slowly incorporate the cold butter into the mixture while stirring continuously.
Continue alternating between pouring the liquid ingredients into the bowl and incorporating the butter until the whole process becomes smooth.
The goal here is to keep everything moving smoothly so that you get a really even distribution throughout the entire mix.
After getting everything thoroughly blended together, transfer the mixture into a container and place inside a fridge.
Let the mixture chill out for about 30 minutes before serving.
Make sure not to skip this step! When chilled enough, take the cheese foam out of the refrigerator and serve immediately.
If you leave it too long, the foam will become rock hard.
Here’s another tip – if you plan to use the cheese foam as a topping for something like roasted chicken, make sure to cut it into small pieces before placing it back in the fridge.
Doing this will allow the foam to soften up again quickly once put back in there.
Also, be careful not to touch the top of the foam because it might collapse under pressure.
If you want to go one step further and actually bake the cheese foam, follow this recipe below.
It’ll teach you how to make a perfect cheese foam cake.
Just remember to always make sure to check the oven frequently during cooking time.
- Combine eggs, sugar, flour, salt, butter, vanilla extract, and hot milk in a large metal bowl and beat vigorously with electric mixer for 2 to 3 minutes.
- Pour into greased 9×13 inch baking dish and set aside.
- Preheat the oven to 350° F.
- In a separate bowl, whip cream with electric mixer until stiff peaks form.
- Gently fold whipped cream into egg batter until just combined.
- Pour into prepared baking dish, smoothing the surface evenly with spatula.
- Bake the cheesecake 35 – 40 minutes until center jiggles slightly when gently shaken.
- Remove from oven and run a knife around edge to loosen cake.
- Cool 5 minutes before cutting into squares and transferring to wire racks to cool completely.


What Are The Benefits Of Using A Cheese Foam Recipe?
A cheese foam has many uses in cooking.
You can use it as a base for sauces, such as meatloaf gravy or tomato soup.
The thick foam will add body to these types of recipes.
Alternatively, if you like to cook with lighter fare, you could use a cheese foam as a topping for any type of salad, pizza, or even fried chicken.
In addition, cheese foams are also great as a side dish because they have a very nice flavor.
Since they rely heavily on dairy products, they contain natural fats from the milk which helps them stay creamy without tasting heavy.
Plus, since they’re not overly sweet either, they complement almost anything you put them over well.
Finally, cheese foams are fun to experiment with because you get to play around with different ingredients.
For example, instead of just blending regular milk, you can mix in some evaporated milk or cream to give the foam more richness.
When deciding whether or not to make a cheese foam, keep in mind that there are several ways you can go about creating this tasty treat.
Some people prefer the traditional method of pouring hot water into a metal bowl and letting it cool down until it forms a frothy mass.
However, because this method involves waiting for the foam to form naturally, it takes longer than other methods.
For starters, you should choose a high quality cheese for your foam.
To avoid wasting money, opt to buy whole cheeses rather than pre-shredded ones.
This way, you won’t need to chop up large blocks of cheese before beginning the process.
Also, consider buying a block of cheese that contains both aged cheddar and American cheese varieties.
These two kinds of cheese compliment each other nicely when mixed together, resulting in a rich and flavorful cheese foam.
Another option is to purchase shredded cheese.
When choosing between shredded and cubed cheese, it all comes down to preference.
Shredded cheese is easier to work with, whereas cubes require less time to complete the entire process.
Next, you must decide what kind of container you plan to use.
Ideally, you would like something that holds lots of liquid so that you can pour the foam out easily once it begins to set.
In addition, you may want to pick a container that allows the foam to expand freely after filling it.
Lastly, you should look for containers that allow you to see through the bottom so that you can watch the foam rise quickly and evenly throughout the container.
This way, you can control its thickness and ensure no bubbles remain uncaught.
Finally, you should remember to stir the foam constantly during the initial heating stage.
Doing this ensures that the foam rises rapidly, while also preventing it from setting too fast.
Once the foam starts to thicken, switch off the heat source and let it cool down completely.
The goal here is to produce a smooth and stable foam that isn’t runny or sticky.
What Are The Drawbacks Of Using A Cheese Foam Recipe?
While cheese froth sounds like it should be very simple to prepare, there are a few things to keep in mind when trying to master this technique.
The main thing to remember when cooking a cheese foam is that all ingredients must be fresh! This means that if you have any old food in your fridge that has gone bad or isn’t quite up to par, you won’t get the best results from your attempt at making cheese foam.
Additionally, if you’ve been out of town and didn’t buy enough food before leaving, you may not have much time to cook what you need once you return home.
If you’re not sure about the quality of your products, you might also want to consider buying some premade cheeses and other dairy items instead of attempting to make them yourself.
For example, pre-made cottage cheese will work perfectly well, and frozen shredded cheddar can help you save time while still getting a decent result.
You could even purchase a package of prepared whipped cream to achieve the same effect (but I wouldn’t recommend doing so).
How Long Does A Cheese Foam Recipe Last?
If you’re looking for a great way to use up leftover cheeses in your fridge, consider trying out a cheese foam recipe.
These recipes involve combining melted cheese with milk before whipping them into a frothy concoction.
This simple method works well because it keeps the ingredients from curdling when mixed together.
How Easy Is It To Make A Cheese Foam Recipe?
The first thing you need to do when trying out a new cooking technique is figure out what tools you will use in order to complete the task.
For example, if you plan to make cheese foam using a blender, you should consider getting yourself some kitchen equipment such as a stand mixer or food processor.
You may also find that buying a cheese frother works better than trying to make one from scratch.
If you choose to buy a cheese frother instead of attempting to make one, keep in mind that there are different types available.
Some frothers have adjustable settings so they can accommodate various amounts of liquid.
Others come with a built-in paddle attachment which allows them to easily turn into a handheld blender.
And still others work just like regular blenders with no attachments needed.
The type of frother you get depends entirely on your preference.
Next up, let’s take a look at how to make cheese foam.
- To start off, measure all ingredients and place them into a bowl or container before setting aside.
- Then add the dry ingredients (flour, salt, pepper), followed by the wet ones (milk, cream, eggs).
- Mix everything together well.
- Now comes the fun part – you’ll want to whip the mixture until it becomes thick and smooth.
- This usually takes about 5 minutes, depending on the amount of liquid involved.
- After whipping it, pour the mixture onto a baking sheet lined with parchment paper and allow it to cool completely before cutting it into cubes.
- Finally, heat up your oven and bake each cube individually for 15 minutes.
Tips for creating great cheese foam recipes
There aren’t many rules when it comes to creating a perfect cheese foam recipe.
However, there are a few things worth mentioning.
First, you’ll want to ensure that your pan is clean and grease free before starting any cooking process.
Second, you should always check the temperature of your broiler after placing the item inside in case the foam starts burning too quickly.
Third, it’s best to leave the cheese foam alone once it has been set down on its own since most people tend to eat it straight away.
If you choose not to follow these tips, there are other ways that you can tweak your cheese foam recipe.
One way would be to substitute dairy products such as butter, yogurt, sour cream, heavy cream, etc., for whole milk or half-and-half.
Another option would be to swap out flour for cornstarch, or replace sugar with honey.
There really isn’t a limit to the number of options you can experiment with when it comes to tweaking cheeses and spices.
What
Is there anything more delicious than a bowl of warm soup or stew full of melted cheese? Well, if you thought so, then you should probably stop reading right now because you’ve just read something wrong.
A cheese foam is not actually melted cheese – it’s simply a cheesy sauce.
You might think that cheese foams would taste better when they’re hot, but in fact, they’re best served chilled.
This means that you have plenty of time to get them ready before guests arrive (which makes them perfect for entertaining).
To prepare a cheese foam, all you need is some milk, cream, butter, and cheese.
You’ll also need a whisk (or two), a large mixing bowl, and a strainer.
The first step of the process involves whipping up the ingredients into a creamy concoction.
As soon as everything is mixed well, pour it into a clean bowl set over ice cubes.
The cold temperature will help prevent the mixture from curdling.
Once the mixture has cooled down enough, strain it through a fine mesh sieve, which allows the liquid part of the mix to pass through while retaining any bits of solids.
Next, add the remaining ingredients to the cheese foam base.
These include salt, pepper, herbs, spices, and other flavorings.
Mix these ingredients thoroughly into the cheese foam base until they’re evenly distributed throughout the entire mix.
Finally, stir in any additional flavoring agents such as tomato paste or ketchup.
When you’re done, you should end up with a creamy, smooth, and flavorful cheese foam.

Equipment
- medium mixing bowl
Ingredients
- 2 oz cream cheese
- 3 tbsp whipping cream
- 2 tbsp milk
- 1 tbsp sugar
- 1/2 tsp himalayan sea salt
Instructions
- Combine the sugar and cream cheese in a medium mixing bowl. On high, beat until smooth and creamy.
- In a mixing bowl, combine the milk and whipping cream. Beat until the mixture is thick and frothy.
- Slowly drizzle in the sea salt and adjust to taste.
- Serve right away and enjoy!
Video
Nutrition
My blog is all about creating delicious meals with ingredients that are easy to find in your local grocery store. I’m passionate about making yummy meals that I can share with my friends and family.