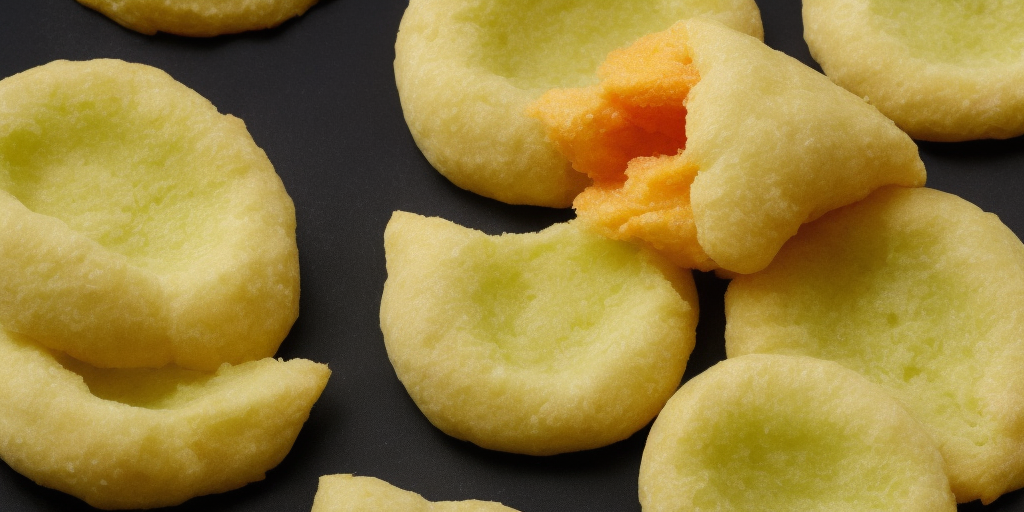
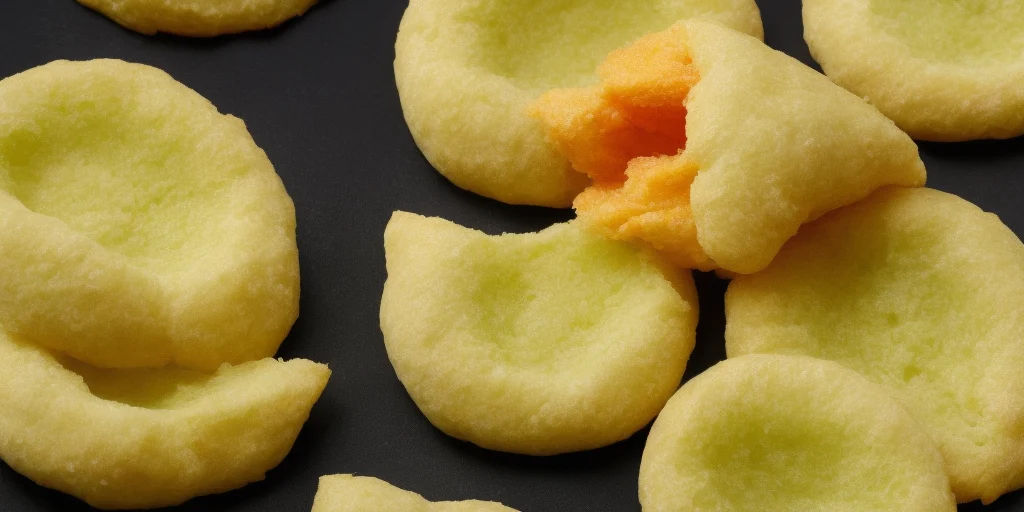
Melon pan is a popular Japanese sweet bread treat with a crunchy outer crust and a soft, sweet, melon-flavored center.
This recipe is sure to please everyone with its combination of flavors and textures.
It’s a delicious treat that’s sure to be a hit at any gathering!


What are the main ingredients for melon pan?
Melon pan is made with melon or melonpan, a variant of Japanese mochi.
It is a sweet, round cake that is easily made at home.
Mochi is a food made by pounding sticky rice into a paste-like consistency.
The paste is then shaped into balls, dipped in sugar syrup (in this case, rice syrup), and then dried.
These balls are also known as mochi balls, which are popular as a snack especially in Japan.
Mochi balls are usually colored in red or green using natural food coloring.
However, melon pan can also be made using other colored mochi (uncolored mochi is preferable), and the taste and texture of the finished product will not be affected by the color.
What are the steps to make melon pan?
Melon pan is a Japanese sweet bread that takes its name from the shape and size of the pan that holds the dough.
The dough is made with glutinous rice flour, kudzu starch, brown sugar and melon seeds.
After the pan is shaped, it’s allowed to sit to allow the dough to rise.
The dough is then coated with a mixture of egg white and cornstarch.
Next, an orange-colored glaze is added and the dough is baked.
Melon pan isn’t too difficult to make (it only takes about three or four hours), but it does have several steps that need to be completed before you can cut into your pan of goodness.
Below are all of the steps you need to follow in order.
Is there a specialized pan for making melon pan?
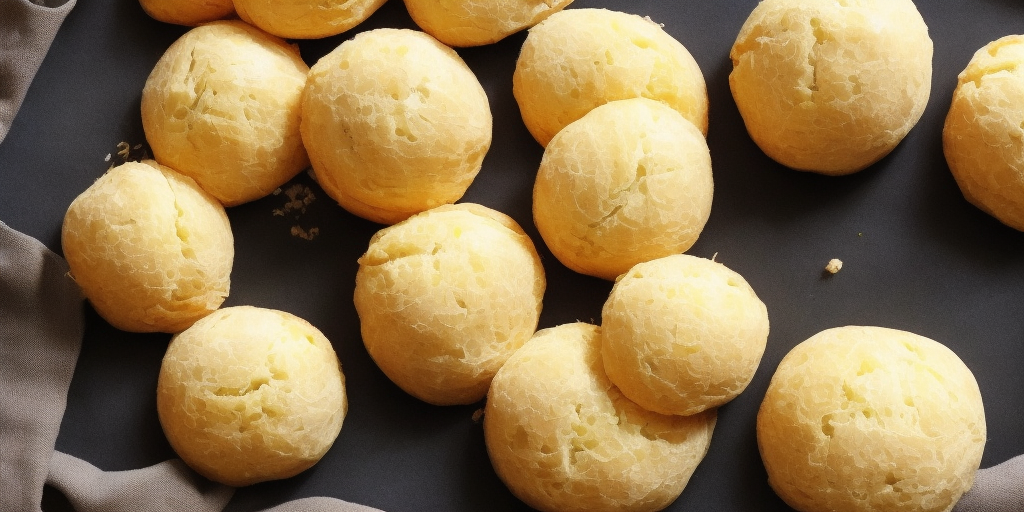
Melon pan is a nice, round loaf that looks like a melon.
The recipe suggests you make it in a heart-shaped or round pan but there’s no reason why you can’t use any kind of pan.
If you’re making this in a loaf pan you need to leave some space between the top and bottom of the pan.
Otherwise, you get an uneven-shaped loaf.
How long does it take to make melon pan?
It usually takes about 2 hours to make a melon pan between 1 and 6 pieces.
One pound of flour is used for rolling out the dough, so when you make melon pan, you’ll have to grate about 3/4 pound of cheese, which will take about 45 minutes to an hour.
You can also make melon pan in advance and keep it in the refrigerator or freezer for later use.
What is the origin of melon pan?
Melon pan is a Japanese sweet bread treat that originated in the Edo period (1603-1867) of Japan.
It is believed to have first been invented by the wealthy and privileged class, who used it as a prestigious dessert, as it was quite expensive at the time.
The initial recipe for melonpan was a simple one made from black rice flour, sugar, and water.
However, through time and trial, the original recipe was improved upon to create this classic dessert.
As of today, melon pan remains a popular dessert for gatherings.
Today’s modern day version derives from the original recipe; however, there have been many variations created from it over time.
Variations such as milk chocolate and white chocolate pan are just two examples of how this sweet is changing with time.
With these changes in contemporary times, the popularity of melon pan has been on significant surge.
What are some variations of melon pan?
This recipe is most commonly referred to as “mango” or “cantaloupe” pan.
But, it’s also known as “watermelon pan”.
What’s the difference?
Melon pan originates from Japan.
The Japanese name for melon pan is “yamajirushi-miso”, which means “melon bread with sweet miso butter”.
This recipe contains a lot of sugar and a few other ingredients, making it similar to a doughnut.
The flavor is best described as a melon counterpoint to other sweet flavors like vanilla, caramel, and chocolate.
So, if you’re looking for an alternative to traditional pan fillings, melon pan is definitely an option for you.

What types of melon are used for melon pan?
The melon pan can be made with almost any type of melon, but the most common is a regular cantaloupe.
It’s also most commonly used in Japan and other Asian countries.
If you’re looking for a slightly different twist on the classics, you might want to try some other types of melons.
These include honeydew and watermelon!
How can I make the melon pan crust extra crunchy?
Melon pan crust is incredibly crunchy.
The soft center may seem sweet enough, but this crunchiness is a real delight to the palate.
Melon pan crust is created in different ways.
One way to achieve this texture is by preparing the melon pan crust with ice cream and whipped cream.
In this case, you’ll also have to add a little bit of water and flour so that the dough doesn’t crumble during mixing.
Be careful with this particular combination so as not to lose the crunchiness of your crust.
Once you’ve prepared it, freeze it for about an hour before baking.
Another option is to use melon slices and spread them over the cooked crust immediately after baking.
You can then top them with any type of topping you want.
You can also add ground nuts or dried fruit such as raisins or dates in the mix to create different flavors and textures, so experiment until you find which combination works best for you.
Are there any tips or tricks to making melon pan?
Just like other baked goods, there is a method to how you make melon pan.
It all depends on your preferences, amount of time you want to spend and what ingredients you have on hand.
Here are some tips to help you successfully make this Japanese treat.
The crust should be crisp and crunchy while the middle should be soft and sweet.
You can use our melon pan recipe as a guide and add or subtract anything that you need.
What is the best way to store melon pan?
First and foremost, the recipe makes a lot.
And if you’re serving it to a crowd, you should prepare several batches of melon pan to ensure that no one goes hungry.
The best way to store this sweet treat is as leftovers, but I find it’s better to refrigerate these treats and treat them like you would ice cream.
This prevents the center from drying out too much, ensuring that your guests will enjoy the party dessert.
You can also wrap the melon pan in plastic wrap and place into a plastic bag.
That will help keep the flavors and texture of the sweet breads fresh until you serve them.
I hope you enjoy this recipe for melon pan!
Equipment
- 1 Oven
Ingredients
- 140 g Bread Flour
- 25 g Johakuto or Powdered Sugar see the note below when using regular granulated sugar
- 1/3 tsp Salt
- 5 g Non-Fat Dry Milk Powder if dry milk powder is not available use lukewarm milk instead of the lukewarm water.
- 3 g Instant Dry Yeast a little less than 1 tsp 3g
- 1 tbsp Beaten Eggs
- 70 ml Lukewarm Water
- 15 g Butter
- Bread Flour for dusting
- Cookie Dough
- 25 g Unsalted Butter
- 35 g Johakuto or Powdered Sugar see the note below when using regular granulated sugar
- 25 g Beaten Eggs
- 80 g Cake Flour low gluten or protein flour
- 1/4 tsp Baking Powder
- Granulated Sugar for glazing
- Bread Flour for dusting
Instructions
Cookie Dough
- Let’s start by making the cookie dough. Cream the butter by whisking it. Add the sugar gradually, combine, and let it melt in the butter. Add the beaten egg gradually and mix till the color turns white. Butter will separate if the egg is added all at once. Before using, let the butter and egg come to room temperature. This will facilitate mixing and improve sugar dissolution.
- Using a spatula, combine the cake flour and baking powder. In a bowl, sift the flour mixture. Re-sift it.
- To the butter mixture, add one-third of the cake flour. With a spatula, stir just enough. Mix in a further third of the flour. Add the remaining and mix everything together carefully. Don’t over-mix the dough, please.
- To the butter mixture, add one-third of the cake flour. With a spatula, stir just enough. Lightly mix in a further third of the flour. Add the remaining and mix everything together carefully. Don’t over-mix the dough, please.
- Put the dough on the baking sheet that is wrapped in plastic. Shape the dough into a cylinder by rubbing some bread flour on your hands. The cookie dough needs to be chilled for more than an hour.
Bread Dough and 1st Fermentation
- Next, let’s prepare the bread dough. Bread flour should be combined with sugar, salt, non-fat dry milk powder, and instant yeast. Stir the flour mixture thoroughly. Mix the warm water with the beaten egg. Pour it over the flour and combine thoroughly with a spatula.
- Next, let’s prepare the bread dough. Bread flour should be combined with sugar, salt, non-fat dry milk powder, and instant yeast. Stir the flour mixture thoroughly. Mix the warm water with the beaten egg. Pour it over the flour and combine thoroughly with a spatula.
- Place the flour mixture on a pastry board after cleaning the spatula with a scraper. The crumbled flour mixture should be gathered and formed into a ball. Knead it briefly with your hands.
- Toss the dough onto the pastry board, fold it aside, take a side, and toss it one more. Using the scraper, gather the dough. Use your body weight and your hands to knead the dough. Continue doing this until the dough becomes less sticky.
- Spread the butter on after flattening the dough. By adding the butter, pull the dough’s rim toward the center. Form a dough ball with the scraper once the butter has been incorporated.
- Continue tossing the dough onto the board as previously demonstrated. Re-throw after kneading the dough on the board. For ten minutes, continue throwing and rolling in this manner. Now the dough is shiny and silky.
- Continue tossing the dough onto the board as previously demonstrated. Re-throw after kneading the dough on the board. For ten minutes, continue throwing and rolling in this manner. Now the dough is shiny and silky.
- Make a dough ball as seen in the video, then set it back in the basin. It should be wrapped in plastic and kept warm for 40 minutes. This traditional oven can maintain a heated interior for fermentation.
- The volume of the dough has now increased by 50%. Make a hole in the dough with your finger after dipping it in bread flour. If the hole goes soon, the dough need additional fermenting. To find the overall weight of the dough, weigh it.
- The volume of the dough has now increased by 50%. Put the plastic wrap aside. You can poke a hole in the dough by dipping your finger. If the hole goes soon, the dough need additional fermenting. To find the overall weight of the dough, weigh it.
- Place the dough on the pastry board after sprinkling bread flour there. Remove the gas inside the dough by flattening it. The dough is rolled into a lengthy cylinder. The premeasured dough should be divided into 5 equal pieces. Make sure the weights are the same.
- On the other side of the cutting surface, spread the dough. Create a ball out of each piece of dough. Ensure that the bottom is securely fastened. Place the dough balls in a row on the flour-dusted baking sheet. They should be wrapped in plastic and left to rest for 20 minutes at room temperature.
Shaping Cookie Dough
- Let’s roll out the cookie dough to form circular sheets. Five pieces of dough should be made. Make sure the weight of each item is the same by measuring them. Each piece of dough should be formed into a ball using a little bread flour on your hands.
- Let’s form the cookie dough into circular sheets in the meanwhile. Five pieces of dough should be made. Make sure the weight of each item is the same by measuring them. Each piece of dough should be formed into a ball using a little bread flour on your hands.
- Put a second layer of plastic wrap over the ball before pressing with the scraper’s side. You can get a set of cookie sheets that are all the same size by putting a drawing with a 9 cm (3.5″) diameter under the wrap.
- Place the cookie sheets in a line on the flour-dusted baking sheet. When the bread dough is resting, place the tray in the refrigerator. The cookie dough will be simpler to work with as a result.
- Place the cookie sheets in a line on the flour-dusted baking sheet. When the bread dough is resting, place the tray in the refrigerator. The cookie dough will be simpler to work with as a result.
Baking and a second fermentation
- Let’s make Melonpan out of the dough. Reshape each loaf of bread into a ball, cover with the cookie sheet, and make any necessary adjustments. Stretch the cookie sheet up to the center while holding the dough upside down.
- Pinch the bread dough’s bottom, then cover the cookie dough with sugar. With the scraper, create a diamond pattern on the top of the Melonpan while holding it in your palm.
- Pinch the bread dough’s bottom, then cover the cookie dough with sugar. With the scraper, create a diamond pattern on the top of the Melonpan while holding it in your palm.
- Place the Melonpan in a line on the parchment-lined baking sheet.
- Let the Melonpan to ferment for a second time in a warm location. The interior of this standard oven may be maintained at 37 °C (99 °F). The volume of the Melonpan had nearly doubled after 40 minutes of the second rising.
- Bake the Melonpan now. Melonpan should be baked for 12 minutes in a standard oven preheated to 170 °C (338 °F). Remove the baking sheet from the oven when the tops of each Melonpan start to become a light golden. When they have cooled on a cooling rack, they are prepared for serving.
Video
Nutrition
My blog is all about creating delicious meals with ingredients that are easy to find in your local grocery store. I’m passionate about making yummy meals that I can share with my friends and family.